BluePrint Driver Installation Instructions
Quicklinks
Windows Install Instructions
Please note: You must be an Administrator on your computer to install the printer drivers, your version of Windows must be completely up to date, and you must be connected to CUWireless to print.
- Download the Uniprint Driver for Windows.
- Once the Download finishes, run the file: StudentSecure_for_Lte.exe
- Depending on your computer settings, you may get a prompt from Microsoft asking you to allow the installer to make changes to your computer. Select Yes.
- The file will then open, select Install to begin the installation of the UniPrint Driver.
- Let the installer run, it may take a minute or two to complete.

- Once the installer finishes, select Finish. The BluePrint drivers are now installed!
- To print you must select the Student Secure Printer from the program you are trying to print from. Here's how it looks in Microsoft Word.

- After clicking Print you will see the following screen prompting you for your NetID and BLUE Password.

- Select Print after entering your NetID and BLUE password. You may then see a box popping up to automatically check for driver updates for the printers. Select OK.

- If there are updates, they will automatically download and install. After any updates finish, your document will be sent to the BluePrint printers and can be picked up at any of the many BluePrint printers on campus.
Mac Install Instructions
Please note: You must be an administrator on your computer for this installation to complete properly and you must be on CUWireless when printing.
- Download the Uniprint Driver for Mac and unzip the folder. (Chrome, right-click and Save As)
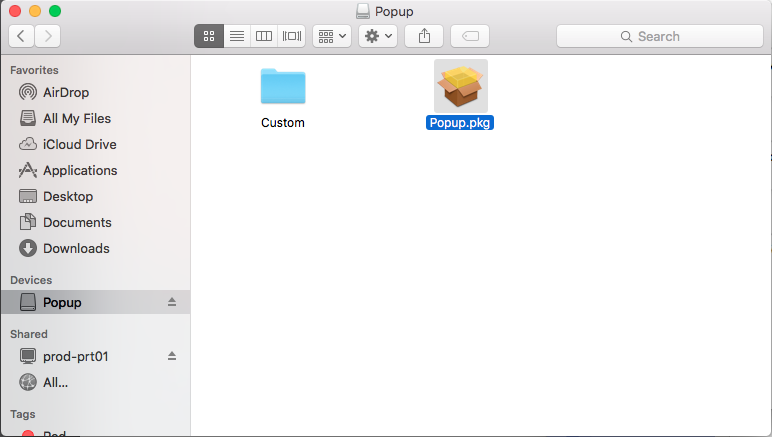
- Run StudentSecure.dmg to open the installer.
- Open the Popup.pkg file that is in the installer to start the installation.
- Select the Continue button to begin the installation.

- Once the installation completes, select the Finish button, the Student Secure printer will be installed.
- When going to print a document, for example in Microsoft Word, select StudentSecure.

- After selecting the printer and the Print button, you will be prompted to enter your NetID and your BLUE Password then select Print.

- Your document is now ready top be picked up at any BluePrint printer location!
 2500 California Plaza